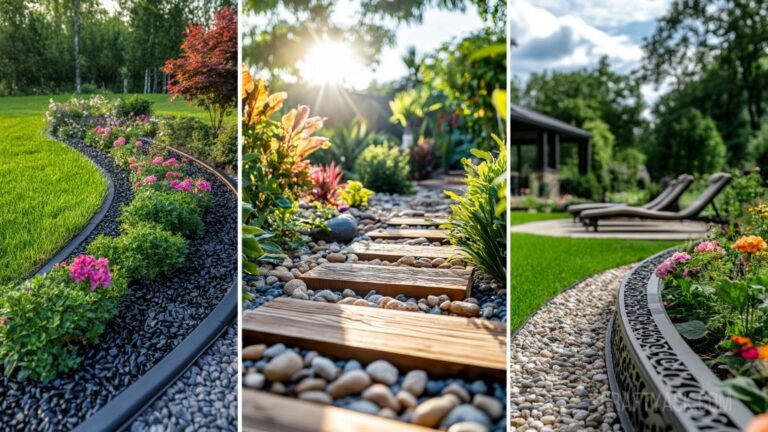
How To Fill Raised Garden Beds – [With 7 simple Layer!]
Filling raised garden beds can be an efficient and rewarding process.
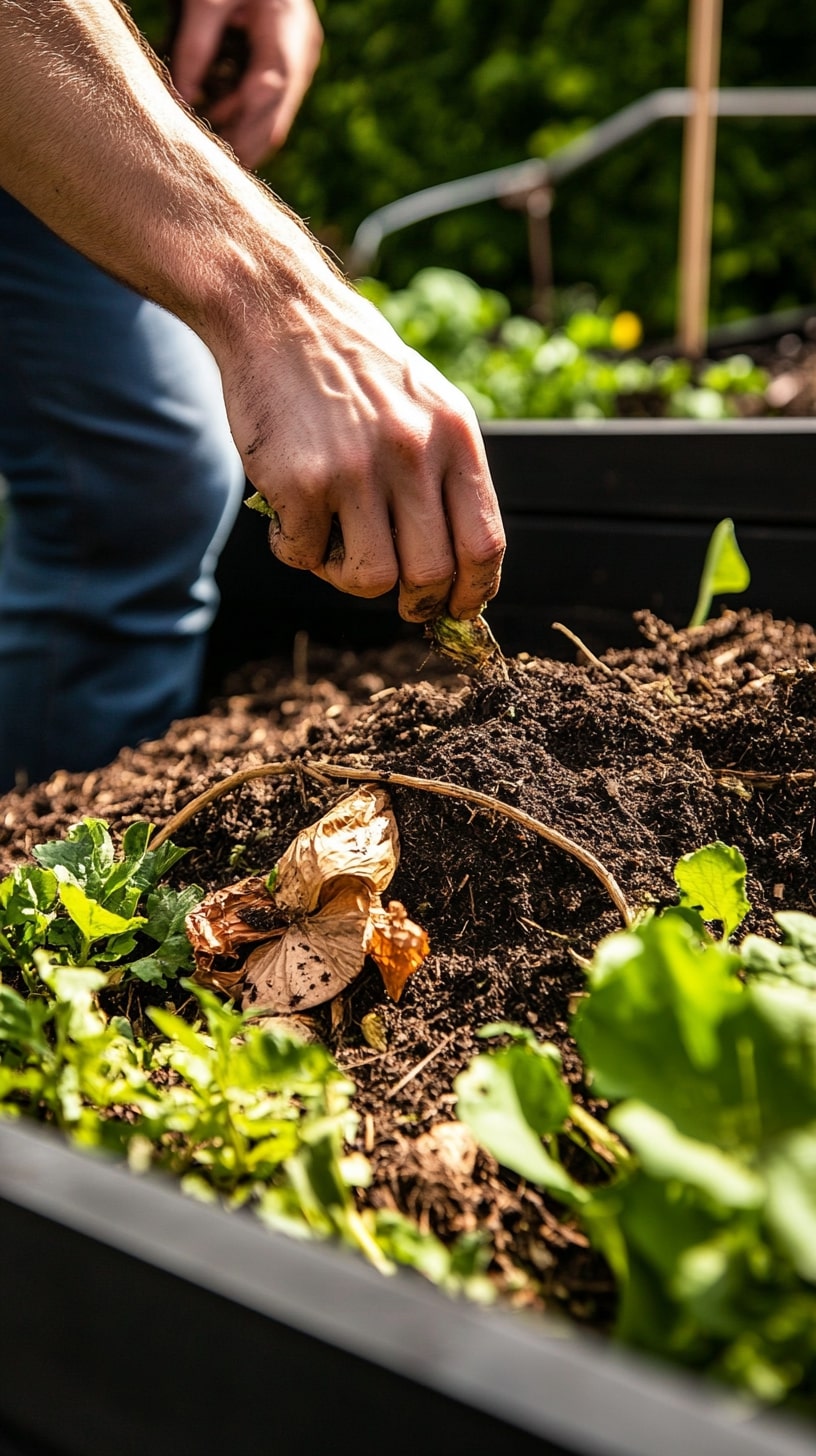
To fill these beds effectively, layers of organic material such as wood chips, leaves, and vegetable scraps can be topped with compost and organic topsoil.
This method not only saves cost but also enhances soil richness over time.
A mixture of natural materials creates a healthy environment for plants.
For added protection against pests, some gardeners place fine wire mesh at the bottom.
![How To Fill Raised Garden Beds – [With 7 simple Layer!]](https://craftyask.com/wp-content/uploads/2025/04/How-To-Fill-Raised-Garden-Beds-–-With-7-simple-Layer.jpg)
Others prefer using cardboard or shredded paper, as it decomposes and adds nutrients.
By selecting suitable materials, gardeners can ensure the sustainability and productivity of their raised beds.
Engaging in this practice helps promote healthier plant growth and contributes to environmentally friendly gardening techniques.
Step 1: Choose The Right Location
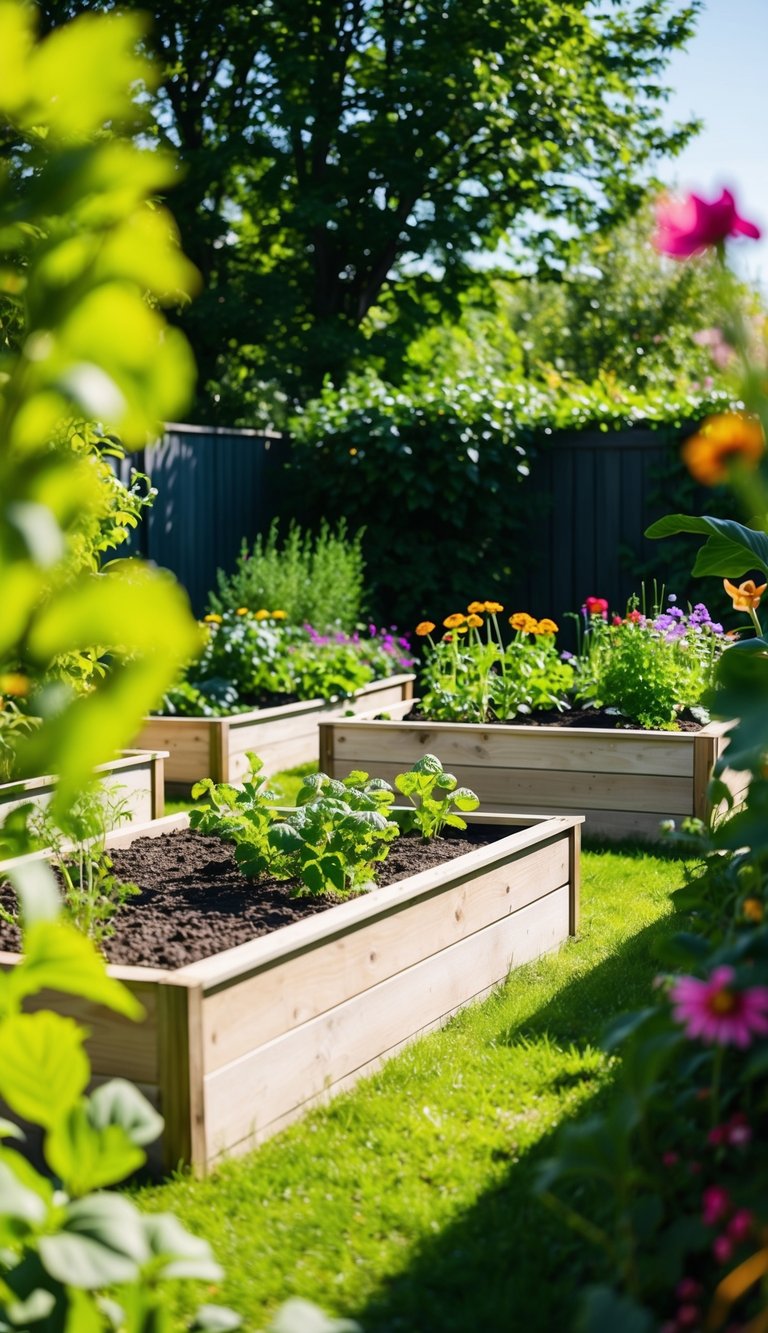
When planning a raised garden bed, selecting an appropriate location is essential.
Key factors include ensuring sufficient sunlight, access to water, and proper air circulation.
Additionally, adequate drainage is necessary for healthy plant growth.
To optimize placement, consider utilizing a compass app or observing natural sun patterns.
Sunlight, Access To Water, And Airflow
A successful garden needs ample sunlight.
Ideally, a garden should receive at least six to eight hours of sunlight per day.
Positioning the raised bed on the south side of any tall structures like homes or fences can help achieve this by minimizing shade.
Access to water is equally important.
Selecting a spot near a spigot, rain barrel or irrigation system will simplify watering while ensuring plants remain hydrated.
Proper airflow prevents mold and disease.
Avoid placing beds near walls or other structures that block wind. This ensures air can circulate freely.
Drainage Considerations
Good drainage is critical in a raised garden bed.
Position the bed on slightly elevated ground to prevent water from pooling.
Avoid areas prone to frequent flooding.
Additionally, ensuring the bed materials, such as wood or stone, are well-laid will facilitate drainage.
Beds under 12 inches deep can be filled with a mixture of soil and compost to assist drainage and support healthy plant roots.
Step 2: Add A Weed Barrier (Optional But Helpful)
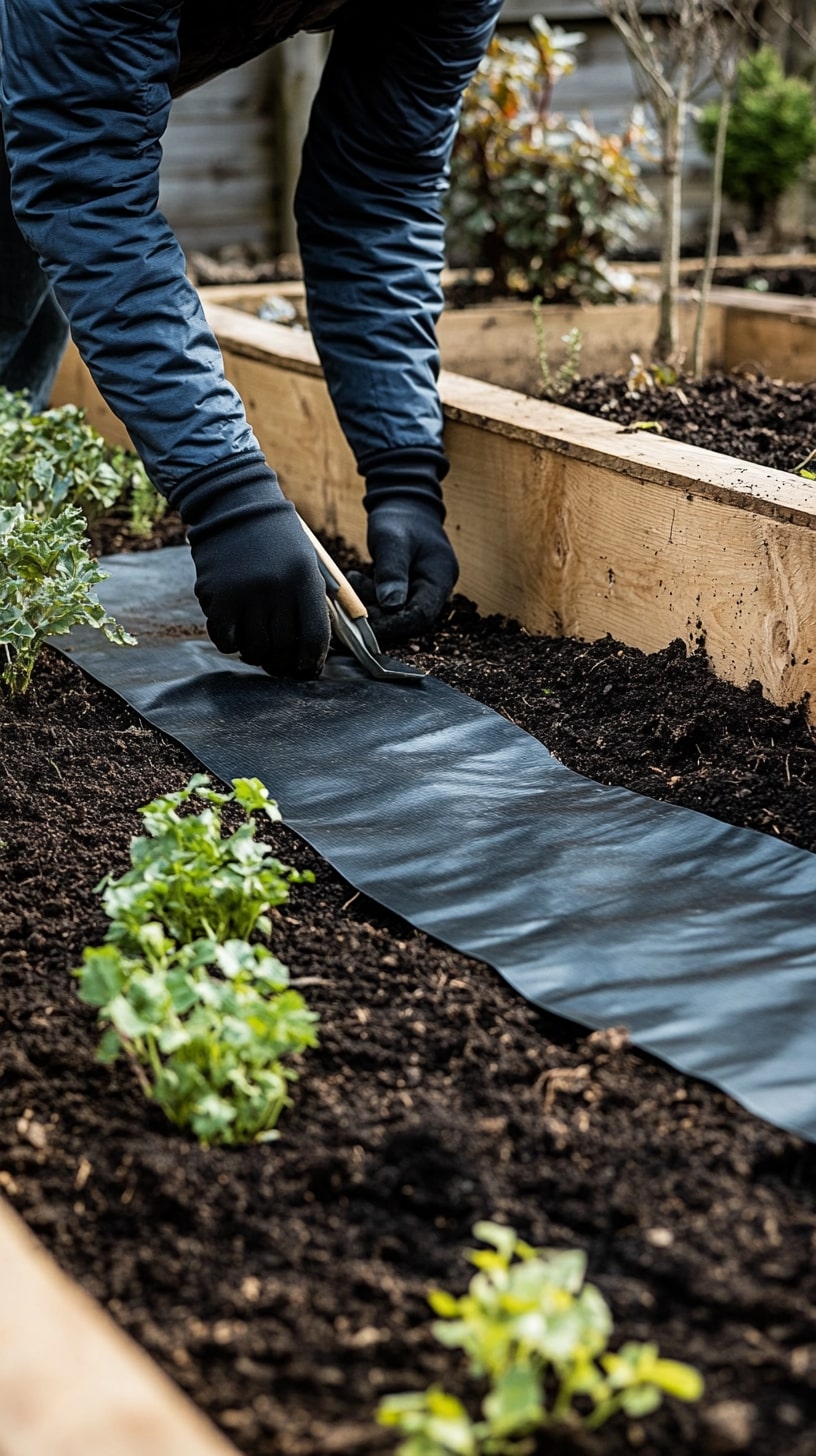
Adding a weed barrier to raised garden beds can be a valuable step. It helps to prevent weeds from invading the soil, ensuring healthier plant growth.
Different materials can be used, and each has its benefits.
Landscape Fabric, Cardboard, Or Newspaper
Using landscape fabric is one option for a weed barrier. It allows water to flow through while blocking weeds effectively.
This option is long-lasting and provides solid protection against unwanted plants.
Cardboard is another popular choice due to its environmental benefits.
It’s biodegradable and breaks down over time, enriching the soil as it decomposes.
Users should ensure the cardboard is free from tape or staples to avoid any issues.
Newspaper, much like cardboard, offers a natural option.
Placing layers of newspaper at the bottom of the bed can block sunlight, which prevents weeds from growing.
It’s important to use several layers to enhance effectiveness.
Keeps Weeds Out And Improves Longevity Of Your Bed
Preventing weeds in raised garden beds not only keeps them neat but also extends their use.
Weeds compete with plants for nutrients, water, and sunlight, impacting their growth severely.
A proper barrier keeps the growth focused only on desired plants.
This protective layer also boosts the bed’s lifespan.
By minimizing the need for constant weeding, gardeners can spend more time nurturing plants and less time on maintenance.
In areas where weeds are prevalent, using such barriers can lead to better outcomes.
Step 3: Start With A Base Layer (Coarse Organic Material)

A solid foundation for a raised garden bed often begins with a base layer made of coarse organic material. This layer enhances drainage and aids in long-term soil health.
Twigs, Small Branches, Straw, Or Wood Chips
Using twigs, small branches, straw, or wood chips ensures good drainage and aeration.
These materials create a loose structure at the base, which prevents waterlogging.
Twigs and small branches are especially effective as they hold up the soil above them, allowing water to move through easily.
Straw is lightweight and biodegradable, adding quick drainage.
Wood chips improve soil structure as they decompose, eventually adding nutrients, though they may temporarily reduce nitrogen availability.
Hugelkultur Method Intro (Optional Detail)
The Hugelkultur method presents an innovative approach to filling raised beds by layering logs, branches, and other wood debris at the bottom.
It incorporates the decomposition of organic materials to enrich the soil over time.
Logs form the base, gradually breaking down and releasing nutrients.
This method promotes water retention during droughts and increases microbial activity, maintaining long-term fertility and improving the structure.
Helps Drainage And Decomposition Over Time
Utilizing coarse organic material aids not only in drainage but also in the natural breakdown of materials into nutrient-rich compost.
This process ensures that water moves effectively through the layers, reducing excess moisture.
Over time, these materials break down and improve the soil’s nutrient content, facilitating healthier plant growth.
A well-structured base supports the roots, allowing them to expand, which contributes to a robust gardening ecosystem.
This process nurtures both short-term needs and long-term soil enrichment.
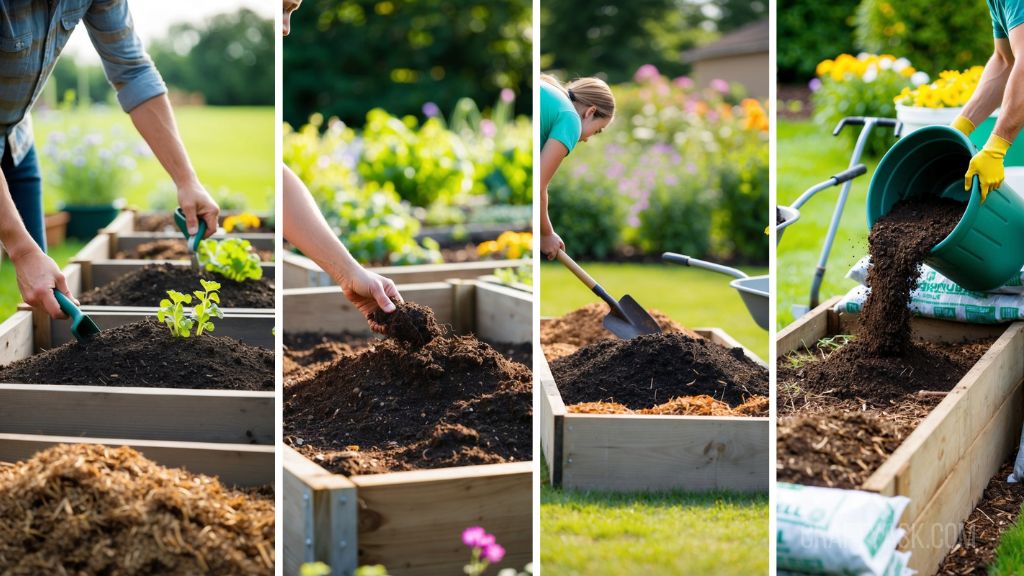
Step 4: Add A Layer Of Compostable Materials
Adding compostable materials to a raised garden bed helps enrich the soil and support plant growth.
This layer should consist of easily decomposable items that add nutrients and improve soil structure.
Grass Clippings, Dried Leaves, Kitchen Scraps
Grass clippings and dried leaves are excellent choices for this layer. They are readily available and compost quickly.
Grass clippings provide nitrogen, while dried leaves add carbon to the mix.
Kitchen scraps like vegetable peels and coffee grounds can also be included.
Avoid adding meat, dairy, or processed foods, as they might attract pests.
This mixture of items helps create a balanced compost that enhances soil health.
Creates A Nutrient-Rich Sublayer
The layer of compostable materials acts as a nutrient reservoir.
As these materials break down, they release essential nutrients, such as nitrogen, phosphorus, and potassium, into the soil.
This process enriches the growing medium, promoting healthy root development and vigorous plant growth.
In addition, the breakdown of materials improves soil aeration and water retention.
This results in a more suitable environment for plant roots, which require both air and moisture to thrive.
Balance Green (Nitrogen) And Brown (Carbon) Matter
Achieving a balance between green and brown materials is crucial for efficient composting.
Green materials, like grass clippings and vegetable scraps, are rich in nitrogen.
Brown materials, such as dried leaves and small branches, contain carbon.
A good ratio is roughly three parts brown to one part green material.
This balance ensures proper decomposition, while preventing unpleasant odors.
Monitoring and adjusting this ratio as needed will help maintain an effective compost layer in the garden bed.
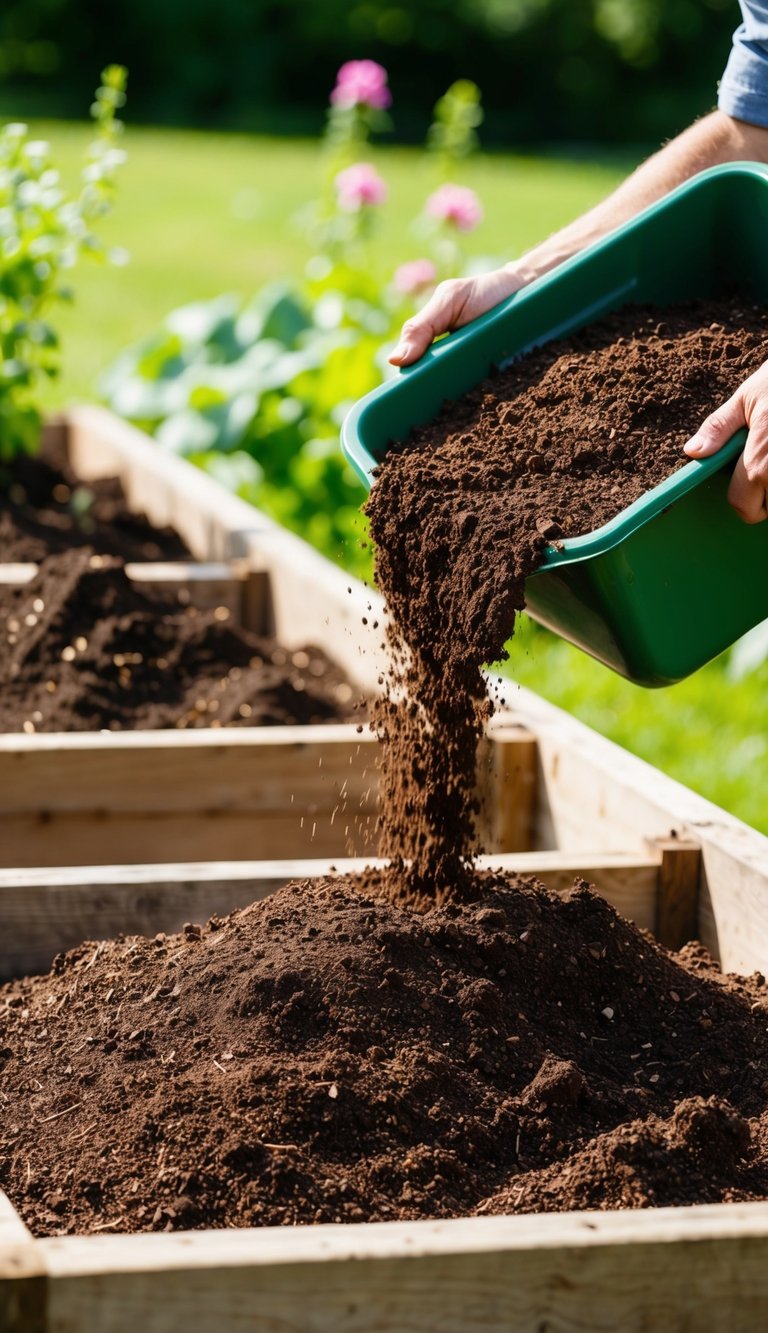
Step 5: Layer With Quality Compost
In this step, it’s essential to use quality compost to enhance soil fertility and promote healthy plant growth.
The focus is on understanding the benefits of well-aged compost, comparing store-bought and homemade options, and recognizing the role of compost in encouraging microbial activity.
Well-Aged Compost Is Gold For Your Garden
Well-aged compost serves as a rich source of nutrients for plants.
It breaks down organic matter into a form that is easily absorbed by roots.
This type of compost also improves soil structure by increasing its ability to retain moisture while draining excess water.
Well-aged compost contains fewer pathogens and weed seeds, making it safer for garden use.
This reduces the risk of introducing harmful elements into your garden environment.
Using aged compost regularly can significantly boost the productivity of your garden.
Store-Bought Vs Homemade
Choosing between store-bought and homemade compost depends on individual preferences and needs.
Store-bought compost offers convenience and consistency, with many products clearly labeled for specific uses.
These products often undergo rigorous quality control processes to ensure they are safe and beneficial.
On the other hand, homemade compost allows for more control over ingredients, ensuring an organic mix.
It presents an economical option for those with access to kitchen scraps and yard waste.
Homemade composting can also reduce waste and promote sustainable gardening practices.
Each option has its pros and cons, and the choice will depend on the gardener’s resources and goals.
Encourages Microbial Activity
Quality compost is teeming with beneficial microorganisms.
These microbes play a crucial role in breaking down organic matter into nutrients that plants can use.
They help decompose cellulose and other complex materials, transforming them into simpler compounds.
Compost also fosters a lively ecosystem in the soil, encouraging the presence of earthworms and other beneficial organisms.
This activity helps aerate the soil, further enhancing its structure and nutrient content.
By fostering a robust microbial environment, compost ensures a vibrant and healthy garden.
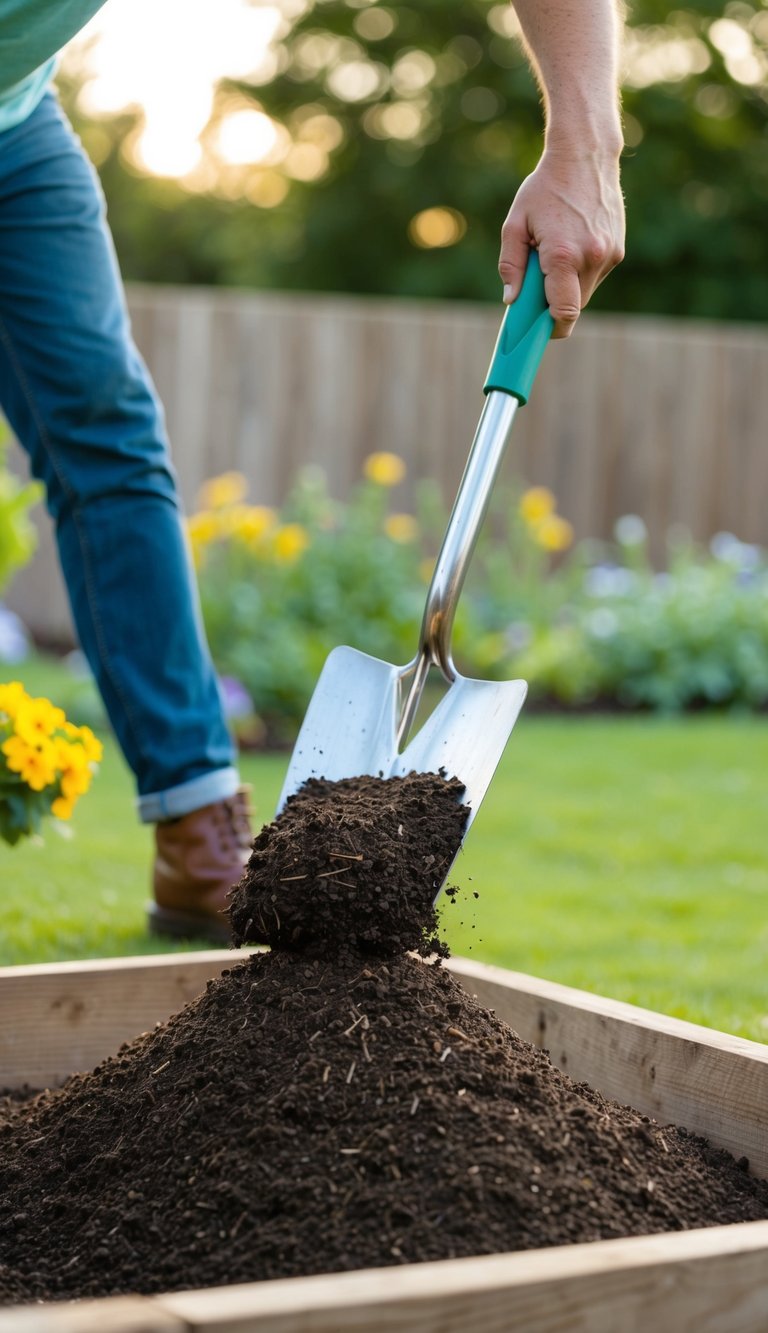
Step 6: Top With High-Quality Garden Soil
Topping a raised bed with high-quality garden soil is essential for healthy plant growth. It provides nutrients and improves the bed’s overall structure.
This process involves selecting the right soil mix, applying proper ratios, and testing pH levels.
Look For A Mix That Includes Loam, Peat Moss/Coconut Coir, Perlite/Vermiculite
High-quality garden soil should balance texture and nutrients. A good mix typically contains loam, peat moss or coconut coir, and perlite or vermiculite.
Loam is a combination of sand, silt, and clay, offering good drainage and nutrient content. Peat moss or coconut coir helps retain moisture without waterlogging the soil.
Perlite and vermiculite enhance aeration and drainage.
Selecting a soil mix that incorporates these ingredients ensures optimal plant health and growth conditions. These components support root development while preventing compaction and promoting better water management.
Ratio Ideas: 60% Topsoil, 30% Compost, 10% Aeration Material
Creating the right blend is crucial for a thriving garden bed. An ideal soil mixture consists of 60% topsoil, 30% compost, and 10% material for aeration.
Topsoil provides the basic structure and essential minerals for plant growth. Compost enriches the soil with organic matter, enhancing nutrient supply and microbial activity.
Aeration materials like perlite help improve soil drainage and root penetration.
A well-proportioned mix supports robust plant development by offering stability and necessary nutrients. The addition of compost increases organisms that aid in breaking down organic matter, which is vital for a fertile garden bed.
Tip: Test pH If You’re Planting Sensitive Crops
Testing the soil’s pH is important, especially for plants sensitive to acidity or alkalinity. Maintaining the right pH level ensures plants absorb nutrients efficiently.
Soil pH can be tested using kits or probes available at garden stores. An ideal pH for most plants ranges from 6.0 to 7.0, promoting nutrient availability.
If the pH is outside this range, adjustments may be necessary using additives like lime to raise pH or sulfur to lower it.
Regular pH monitoring helps create a stable environment where plants can thrive, especially for species demanding specific conditions.
Step 7: Water & Let It Settle Before Planting
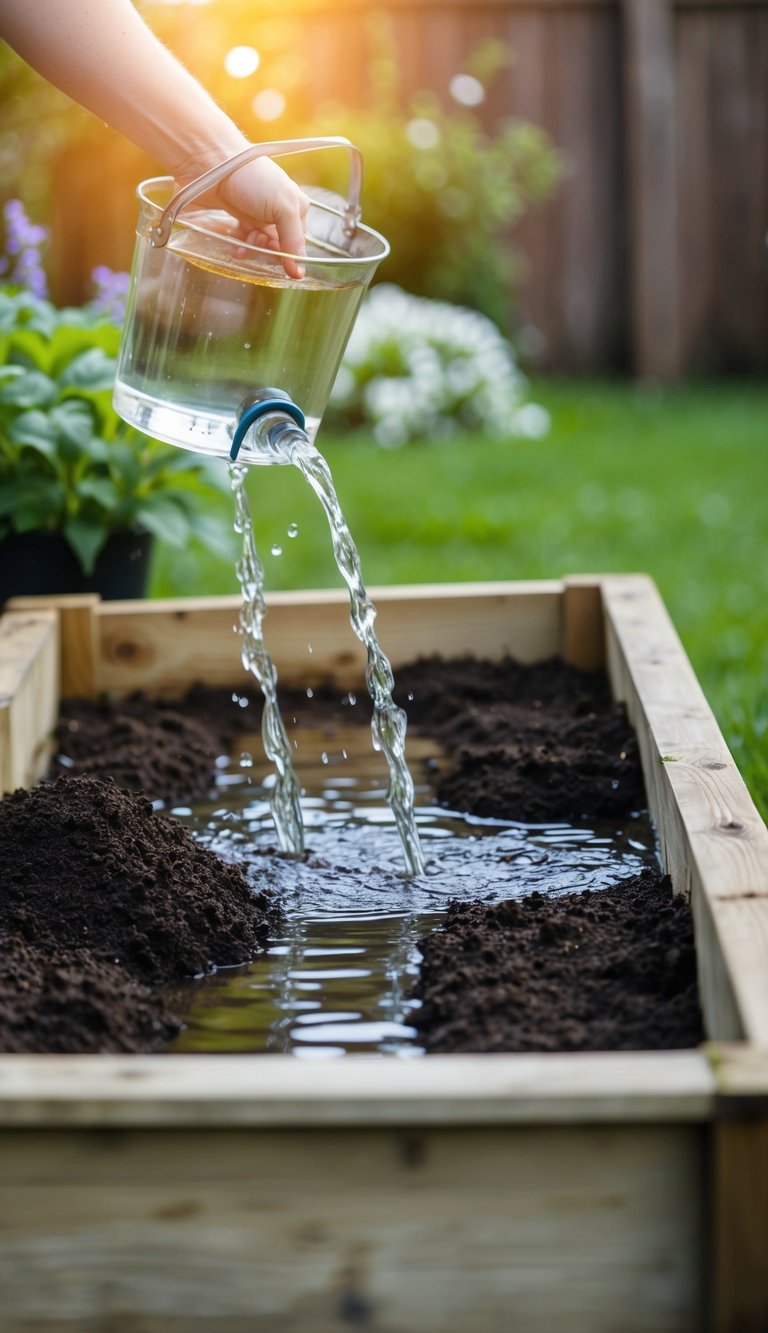
After filling the raised garden bed, it’s crucial to water the soil to help it settle and prepare for planting. This process involves gently soaking the layers and allowing them to stabilize.
Lightly Water To Settle Layers
Lightly watering the soil helps settle all the components within the raised bed. Excess watering should be avoided to prevent waterlogging.
Using a watering can or gentle spray nozzle is effective. Aim for even coverage across the entire surface.
The goal is for the water to penetrate the topsoil without saturating it excessively. This helps in reducing air pockets and creating a stable environment for planting.
Let Sit For A Day Or Two If Possible
After watering, the soil should be left to sit for a day or two to allow settling. This waiting period ensures that the layers are compacted naturally by their own weight.
During this time, gravity helps distribute moisture evenly throughout the soil layers. This resting period not only enhances soil structure but also helps in balancing oxygen levels in the bed.
Add Mulch If Needed To Retain Moisture
Adding a layer of mulch on top of the soil can help retain moisture, especially if the sun is strong or the weather is dry. Mulch acts as a barrier against rapid evaporation.
Organic options like shredded leaves or straw work well, protecting soil from erosion. Mulching also controls weed growth, ensuring that the plants receive adequate nutrients.
It creates a microclimate that keeps the soil temperature stable, beneficial for plant growth.
Bonus Tips Section (Optional)
When filling raised garden beds, it’s crucial to consider various factors to achieve the best results. Seasonal timing, choice between DIY builds and kits, and strategic planting can greatly impact your gardening success.
Seasonal Considerations
Timing plays a vital role in gardening success. When preparing raised beds, gardeners should be aware of their region’s climate patterns.
Spring is often the most favorable time to start planting, as the soil begins to thaw and temperatures rise. During this season, planting cool-weather crops like lettuce and peas can be ideal.
Summer preparations should focus on providing adequate shade and watering since high temperatures can stress plants.
In fall, using mulch can help retain moisture and protect the soil from winter damage. Winter offers an opportunity to plan and amend the soil mix with compost or manure, ensuring beds are ready for the next planting season.
Raised Bed Kits Vs DIY Builds
Choosing between raised bed kits and DIY builds involves weighing different factors. Raised bed kits offer ease and convenience.
They come with all the needed materials and often feature easy-to-follow assembly instructions. Kits are ideal for those new to gardening or with limited time or tools.
Additionally, they often come in durable materials like metal or composite wood, ensuring longevity.
DIY builds allow for more customization. Gardeners with specific size requirements or unique designs might opt for a DIY approach.
This route offers flexibility with materials, such as using reclaimed wood or other eco-friendly options.
Ultimately, the choice depends on individual skill level, available resources, and personal preference.
Companion Planting Tips Once The Bed Is Ready
Once the raised bed is prepped and ready, applying companion planting strategies can boost productivity.
This involves planting complementary crops near each other to improve growth, deter pests, and maximize space.
For instance, tomatoes pair well with basil, which can repel insects and improve tomato flavor.
Similarly, carrots and onions can be planted together; onions help deter carrot flies.
Be mindful of incompatible pairings. For instance, avoid planting beans near onions, as they can stunt each other’s growth.
Utilize a companion planting chart to make informed decisions and foster a thriving, harmonious garden environment.